Ripping Up Ceramic Floor Tiles
Andy Harrison2023-06-23T13:49:24+01:00Ripping Up Ceramic Floor Tiles
A tiled floor often has a mixture of loose and ‘pooh to a blanket’ areas so it can be easy to be conned into thinking these will be up in two shakes. A couple of dozen tiles and it’s getting progressively harder, and then there’s the adhesive and grout. Time to apply a bit of mechanical assistance.
All tilers will be familiar with the breaker and tile lifting blade which is pretty back breaking work after more than a few square metres. More than that, there’s hand / arm vibration and noise limits; disregard those at your peril. For small – medium areas, strap the breaker to a trolley that will take some of the strain and vibration. These are quite expensive for what they are but can be hired in.
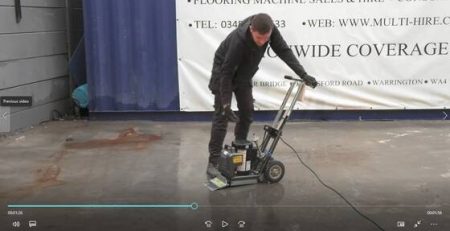
An alternative is a floor scraper with a ceramic chisel. There are a limited number of mechanical scrapers on the market, capable of tackling ceramics. It is possible to hire the NFE 550 which will take up small domestic ceramic tiles, after that the options narrow.
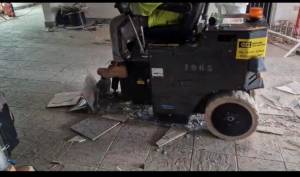
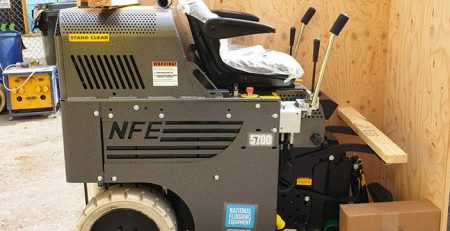
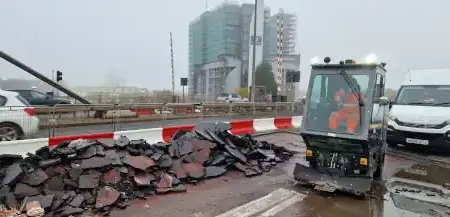
So, if, even with a breaker the job is still too challenging, a bigger scraper is required. The next size up is the ride-on floor scraper. Great for commercial contracts, ripping up in minutes what would take a team of guys armed with breakers, days, maybe weeks. Better still the ride on will also bravely tackle the residue adhesive and grout.
Most ride-on scrapers are battery operated, with a powerful motor. One limiting factor to the ride-on is accessibility. These are very heavy machines aren’t good with stairs. Ensure that you’re either you’re working at ground level or that there’s a goods lift, big enough to take the machine in terms of weight and dimensions.
Back to the job in hand. How much adhesive is left behind by the scraper depends on the nature, thickness, bond and consistency of the adhesive. Dependant upon the desired outcome, the residue may be liveable with but if you are needing to get back to a nice clean substrate, you will need another machine to deal with the adhesive. Which machine is best, depends upon the thickness of the adhesive.
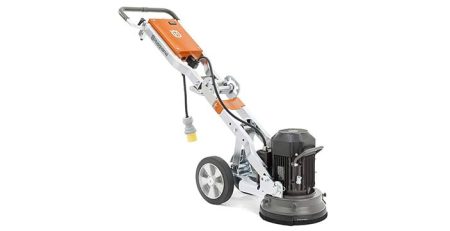
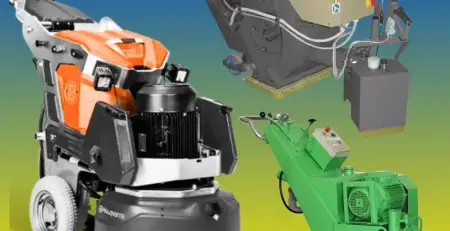
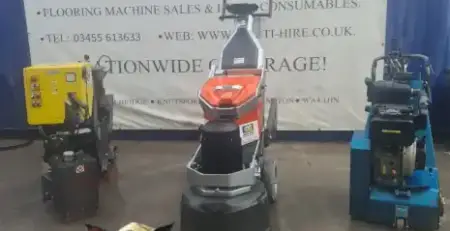
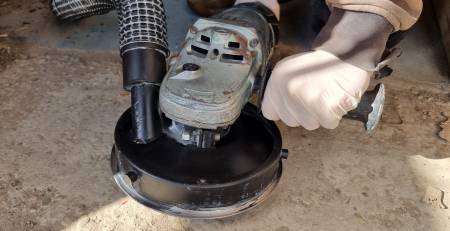
Under 1 mm thick, generally will grind away with a floor grinder. The single head is more aggressive, gets the job done quicker but does tend to leave swirl marks so if a pristine, smooth finish is required then a triple headed floor grinder is the machine of choice.
Under 4 mm thick, stick with the floor grinder but instead of grinding, use PCDs (polychrystaline diamonds) which in essence are protruding sharp nodules that scratch up the surface residual, leaving the hard concrete behind. Over 4 mm generally requires a scabbler which is a fast-revolving drum of sharp, star shaped flails that hit the surface scratching it up. The scabbler will take up just a millimetre or two at a pass so several passes may be needed.
These last two options will leave abrasions on the floor, more so the scabblers. Not a problem if the next stage is floor tiles or even a screed. However, these abrasions will need grinding out with the triple headed diamond floor grinder mentioned above if the next stage is to apply a resin floor paint or a lacquer.
There’s a lot more information on floor scrapers and floor grinders and floor scabblers.
We also have a video of a machine in action here : https://www.youtube.com/watch?v=GXMnbgGVaEo

